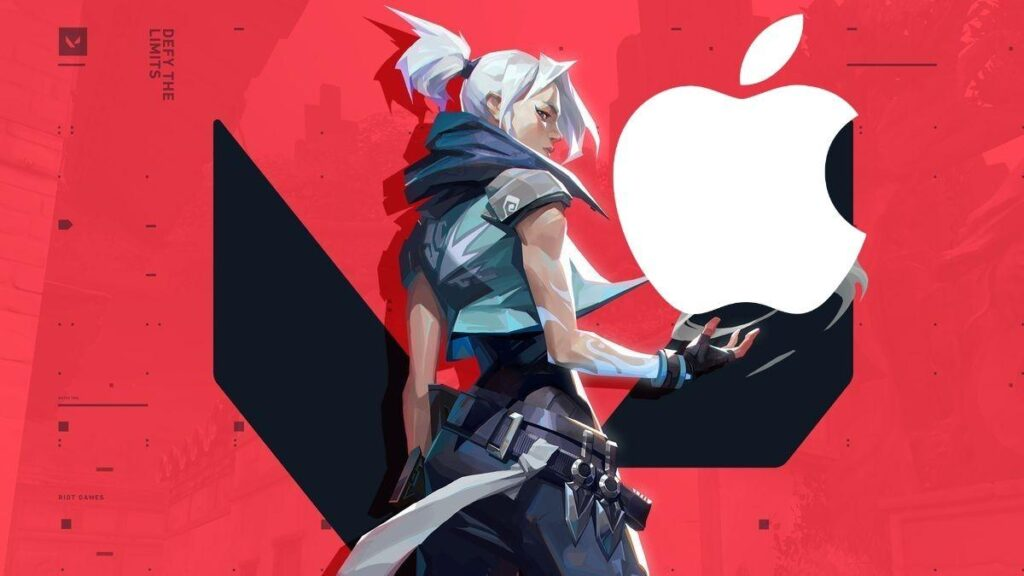
How to Play Valorant on Mac?
|
Getting your Trinity Audio player ready...
|
For fans of tactical first-person shooters, Valorant has become a must-play. Developed by Riot Games and launched in 2020, this free-to-play game quickly captured gamers’ attention. However, its exclusive availability on Windows has left Mac users behind. In this article, we explore the possibilities for Mac users to join the thrilling action of Valorant.
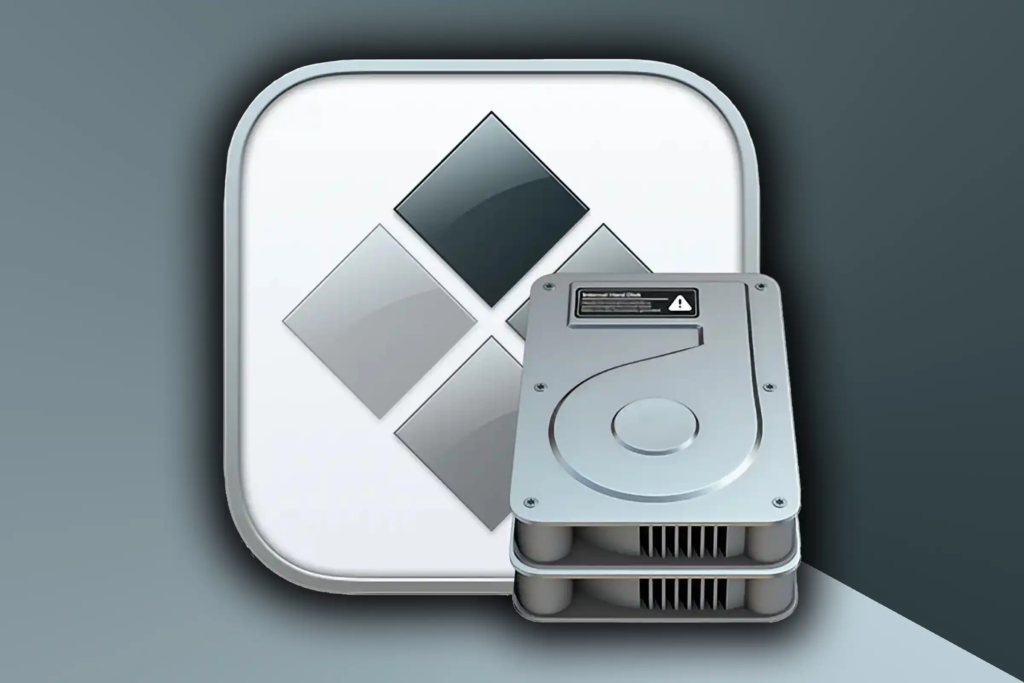
Designed exclusively for Windows, Valorant poses a challenge for those who prefer the MacOS environment. The main barrier is Riot’s Vanguard anti-cheat system, which does not support MacOS. But there is a glimmer of hope for Mac players through a practical solution: Bootcamp.
The ONLY Solution: Bootcamp
Bootcamp is a built-in multi-boot utility in MacOS that allows users to install Windows on their Mac. Here’s a step-by-step guide to using Bootcamp to play Valorant on a Mac:
Step 1: Preliminary Checks
- Ensure your MacOS is up to date.
- Verify that you have at least 64 GB of free space on your startup disk.
- Obtain a copy of Windows 10 Home or Pro in the 64-bit version.
Step 2: Installing Windows via Bootcamp
- Download the Windows 10 ISO image from the official Microsoft website.
- Launch the Bootcamp Assistant located in the “Applications” > “Utilities” folder.
- Create a Windows partition of at least 16 GB.
- Follow the instructions to install Windows.
Step 3: Installing Valorant
Once Windows is installed, download Valorant from the official Riot Games website.
Installing Valorant on Bootcamp: Complete Guide
Activating Secure Boot
Before proceeding with Bootcamp, it’s essential to check and activate secure boot on your Mac. This feature, generally set to “Full Security” by default, plays a crucial role in protecting your system from threats like malware at startup. If this option is not enabled, it is strongly recommended to change it following the official Apple guide for optimal security.
Creating a Windows Partition with Bootcamp Assistant
The Bootcamp Assistant, located in the Utilities folder of your Applications folder, is your primary tool for creating a Windows partition on your Mac. This process begins by launching the Bootcamp Assistant and carefully following the provided instructions. If the assistant requests the insertion of a USB drive, do so to create a Windows boot drive. Regarding the size of the Windows partition, it is advisable to choose a space larger than 64 GB, ideally between 70 and 80 GB, considering the total available space on your hard drive. It’s important to note that the partition size cannot be adjusted later, so choose wisely from the start.
Formatting the Windows Partition (Bootcamp)
After creating the partition with the Bootcamp Assistant, your Mac will restart and launch the Windows installation program. Normally, the program should automatically format the BootCamp partition. However, you might need to do it manually. This step is crucial as this partition will host the Windows operating system and applications like Valorant. Make sure to select and correctly format the BOOTCAMP partition.
Installing Windows
The installation of Windows is a key step in this process. For a smooth installation, it is recommended to unplug all external peripherals, except for the USB drive containing the Windows boot loader. Then, follow the on-screen instructions to install Windows on the prepared partition.
Configuring BootCamp on Windows
Once Windows is installed, your Mac will restart under this system and automatically open the “Welcome to Boot Camp installer” window. At this point, you should follow the instructions to install Boot Camp and the necessary Windows software drivers. Your system may require an automatic restart after the installation of these components to finalize the setup.
Switching Between macOS and Windows
The flexibility to switch between macOS and Windows is one of the major advantages of this process. To do so, restart your Mac and hold down the Option key at startup. This simple gesture allows you to choose between macOS and Windows according to your needs, offering great versatility in use.
Installing Valorant
If you are a gaming enthusiast, especially for Valorant, you can easily install it on the Windows partition. To do this, access the Windows operating system on your Mac, visit the official Valorant website, and proceed with the download. Don’t forget to create a Riot ID to access the game. After installation, make sure to download all necessary updates for an optimal gaming experience.
Mac Compatibility with Valorant
The compatibility of Macs with Valorant mainly depends on the type of chip and the computer’s ability to run a Windows instance via Bootcamp. Here are the compatibility details:
Intel Macs
Compatible with Bootcamp: Macs equipped with Intel chips can install and run Windows via Bootcamp, allowing them to play Valorant. Here’s a list of compatible models:
- MacBook (2015 or later)
- MacBook Air (2012 or later)
- MacBook Pro (2012 or later)
- Mac Mini (2012 or later)
- iMac (2012 or later)
- iMac Pro
- Mac Pro (2013 or later)
M1/M2 Macs
Incompatible with Bootcamp: Macs equipped with M1 or M2 chips cannot use Bootcamp. Currently, there is no official solution to run Valorant on these Mac models. Alternative solutions like Parallels Desktop exist but are generally not compatible with Valorant’s anti-cheat system.
Points to Consider
- Performance: Even on compatible Macs, performance may not be optimal for playing Valorant, especially on older or less powerful models.
- Space and Resources: Installing Windows via Bootcamp requires significant disk space and system resources.
Summary
Playing Valorant on a Mac is primarily a viable option for Intel Mac users via Bootcamp. M1/M2 Mac users will need to wait for a potential update or alternative solution to enjoy Valorant on their devices.
FAQ
Is it possible to play Valorant on Mac? Yes, it is possible to play Valorant on a Mac, but with specific limitations and requirements. Intel Mac users can install Valorant using Bootcamp to run Windows on their Mac.
Is it possible to have Windows on Mac? Yes, it is possible to install Windows on a Mac. Intel Mac users can use Boot Camp to install a full version of Windows, while Mac users with M1 chips can resort to virtualization software like Parallels Desktop.
Where can I find guides and tutorials on Valorant? If you’re looking for guides and tutorials on Valorant, ffr.community is an excellent resource. This site offers a variety of content dedicated to Valorant, from beginner guides to more advanced strategies. Other useful sources include:
- Video Game Forums and Online Communities: Platforms like Reddit or JVC host active communities where players share tips and tricks.
- Specialized Gaming Websites: Renowned sites such as Mandatory.gg and Valolo.fr offer numerous articles and guides on Valorant.
- Video Platforms: YouTube and Twitch are treasure troves of information, with video tutorials and gameplay demonstrations by experienced players.
- Social Networks: Dedicated Valorant groups and pages on Facebook, as well as Discord servers, can be sources of community information and support.
With ffr.community at the forefront for guides specifically tailored to the French-speaking community, these resources offer a wide range of information to improve your game and deepen your understanding of Valorant.
For general gaming advice, including on choosing suitable peripherals like keyboards, check out this guide on gaming keyboards on mondedesgamers.com. Additionally, for players interested in other Riot Games titles, like League of Legends, discover the best champions for starting in the top lane.
While playing Valorant on a Mac requires a few extra steps, it is certainly possible for Intel Mac users. It is important to note that game performance may vary depending on the Mac model. With a bit of patience and preparation, Mac users can join the growing Valorant community and enjoy the intense gaming experience the title offers.